

Step-by-Step Guide: Setting Up and Using the Incubator Bottom Tray for Propagation
The incubator bottom tray is a valuable tool for successful plant propagation. Whether you're an experienced gardener or a beginner, this step-by-step guide will walk you through the process of setting up and using the incubator bottom tray to ensure optimal conditions for young plant growth. Let's get started!
Step 1: Gather Your Materials
Before setting up the incubator bottom tray, gather all the necessary materials. Here's what you'll need:
- Incubator bottom tray
- Growing medium
- Seeds or cuttings
- Watering can or spray bottle
- Propagation dome or plastic wrap
- Light source (natural or artificial)
- Thermometer and hygrometer (optional, but recommended for monitoring temperature and humidity)
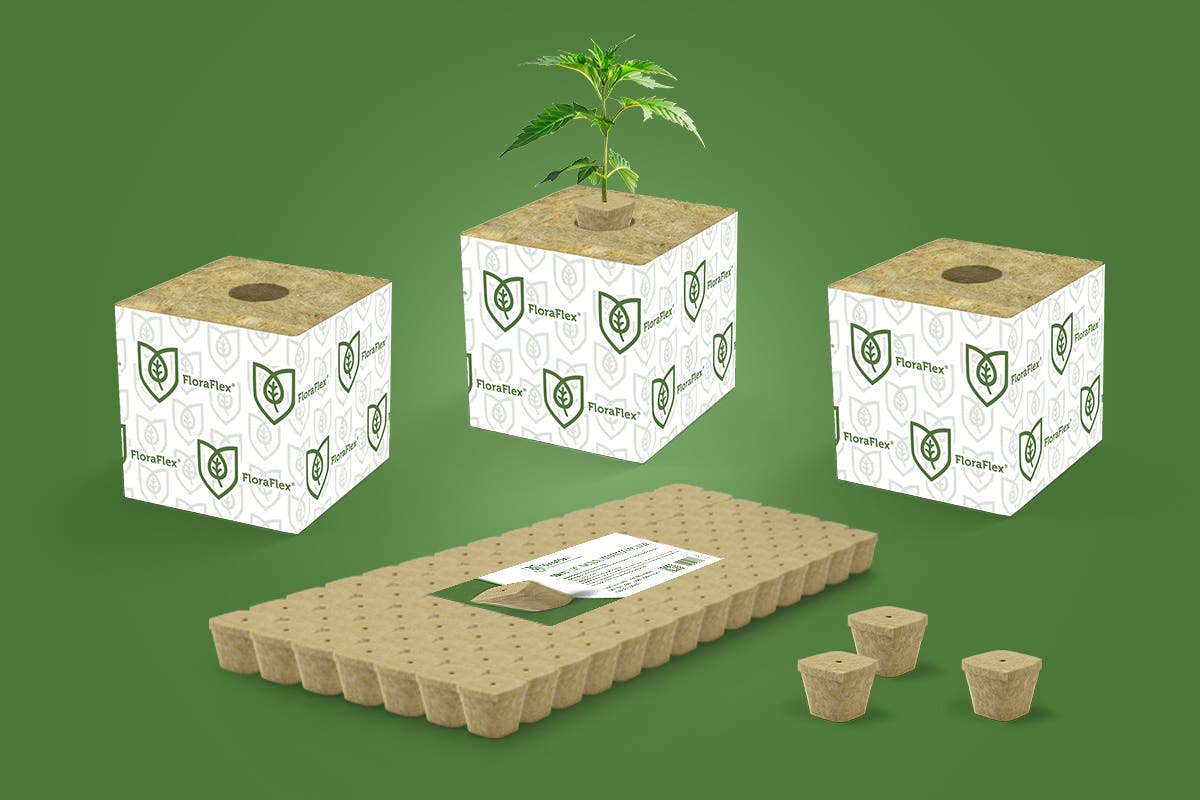
Step 2: Prepare the Incubator Bottom Tray
-
Choose a suitable incubator bottom tray size for your propagation needs. Ensure it has proper drainage holes to prevent waterlogging.
-
Clean the tray thoroughly to remove any dirt or debris. Sterilize it using a mild bleach solution or appropriate disinfectant to minimize the risk of diseases.
-
Place the tray in a location that receives adequate light. If using artificial lighting, position the tray under the light source.
-
Fill the tray with a high-quality, well-draining growing medium. Ensure the medium is moist but not waterlogged.
Step 3: Sow Seeds or Prepare Cuttings
-
If using seeds, follow the specific instructions for sowing depth and spacing provided on the seed packet. Gently press the seeds into the growing medium, ensuring good seed-to-soil contact.
-
If propagating from cuttings, make clean, angled cuts just below a node. Remove any lower leaves to minimize water loss and dip the cut end in a rooting hormone (optional).
-
Insert the cuttings into the growing medium, leaving enough space between them to prevent overcrowding.
Step 4: Watering and Humidity Control
-
Water the growing medium gently using a watering can or spray bottle. Ensure that the water penetrates the medium without causing excessive runoff.
-
Place a propagation dome or cover the tray with plastic wrap to create a humid environment. This helps retain moisture and promotes successful root development. Ventilate the tray periodically to prevent excessive condensation.
-
Monitor the humidity levels using a hygrometer. Aim for a relative humidity of around 70% for most plants.
Step 5: Light and Temperature Management
-
Provide adequate light to support photosynthesis and healthy plant growth. If using natural light, place the tray in a bright area without direct sunlight. If using artificial light, position the light source at an appropriate distance to provide sufficient illumination.
-
Monitor the temperature in the growing environment. Use a thermometer to ensure the temperature remains within the optimal range.
Step 6: Care and Maintenance
-
Regularly check the moisture levels in the growing medium. Avoid overwatering or allowing the medium to dry out completely. Adjust the watering schedule as needed to maintain the appropriate moisture level.
-
Remove any dead or diseased plant material promptly to prevent the spread of diseases or pests.
-
Monitor the growth of your plants and make necessary adjustments to lighting, temperature, or humidity as needed.
-
Once the plants have developed sufficient roots and growth, they can be transplanted into larger containers or moved to their permanent outdoor location.