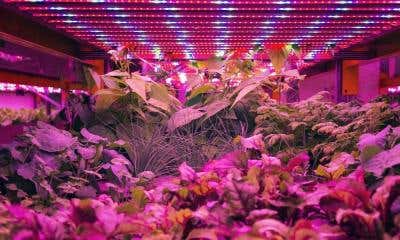


Overhead drip irrigation is a popular method of watering crops that involves the use of drip emitters installed above the crop canopy. This system is effective for providing water to crops without wetting the foliage, reducing the risk of fungal diseases and other issues. In this blog post, we'll explore an overhead drip irrigation diagram and provide tips to help you set up this system for your crops.
What is an overhead drip irrigation diagram? An overhead drip irrigation diagram is a visual representation of the layout and components of an overhead drip irrigation system. This diagram includes details such as the number and location of emitters, the size and type of tubing, and the water source.
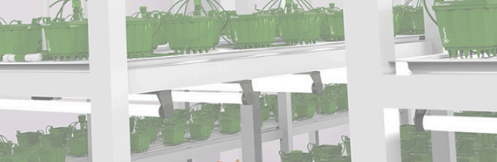
Components of an overhead drip irrigation system Here are the main components of an overhead drip irrigation system:
-
Water source: The water source can be a well, a municipal water supply, or a storage tank.
-
Mainline tubing: The mainline tubing is the larger diameter tubing that delivers water from the water source to the crop area.
-
Sub-main tubing: The sub-main tubing is the smaller diameter tubing that delivers water from the mainline to the drip emitters.
-
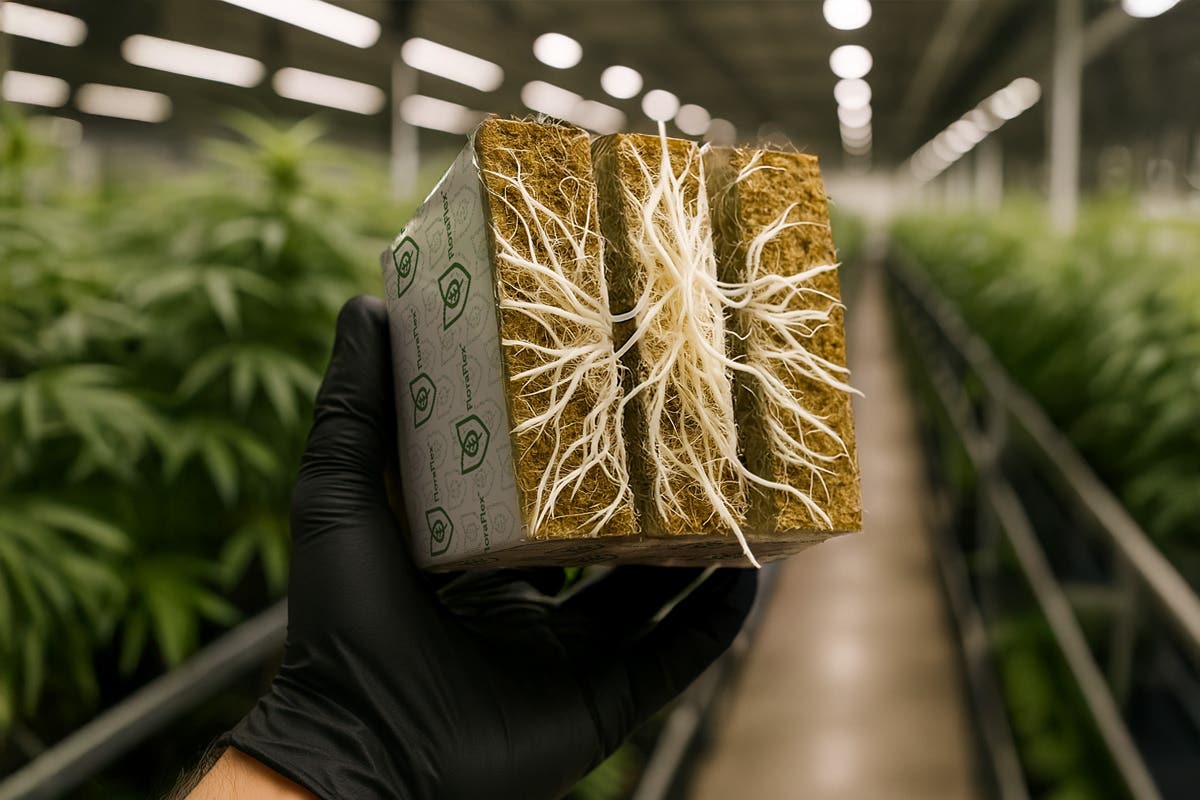
Drip emitters: The drip emitters are small devices that deliver water directly to the soil at the base of the plants. They are installed above the crop canopy and emit water in a slow, steady stream.
-
Filters: Filters are installed in the system to remove any debris or sediment that may clog the emitters.
-
Pressure regulators: Pressure regulators are used to maintain a consistent pressure in the system and prevent damage to the emitters.
-
Timer: A timer is used to automate the watering schedule and ensure that the plants receive consistent water.
Setting up an overhead drip irrigation system Here are the steps to follow when setting up an overhead drip irrigation system:
-
Measure the crop area: Measure the area that needs to be irrigated and determine the amount of water needed.
-
Determine the number and location of emitters: Determine the number of emitters needed based on the crop's water requirements and the spacing between the plants. Place the emitters above the crop canopy, ensuring that they are evenly spaced and at the correct height.
-
Choose the right tubing: Choose tubing that is appropriate for the crop's water requirements, and the layout of the system. The mainline tubing should be larger in diameter than the sub-main tubing.
-
Install the tubing: Install the mainline tubing and the sub-main tubing, making sure that they are securely anchored and level.
-
Install the emitters: Install the emitters in the correct locations, making sure that they are securely attached to the sub-main tubing.
-
Install the filters and pressure regulators: Install the filters and pressure regulators in the system to prevent clogging and maintain consistent water pressure.
-
Connect to a water source: Connect the tubing to the water source, such as a well or municipal water supply.
-
Test the system: Turn on the water and test the system to ensure that the emitters are working correctly and that the water is being delivered evenly.
Conclusion Overhead drip irrigation is an effective way to water crops without wetting the foliage, reducing the risk of fungal diseases and other issues. By following an overhead drip irrigation diagram and using the right components, you can set up a system that delivers consistent water to your crops and promotes healthy growth. With the right planning, installation, and maintenance, overhead drip irrigation can help you maximize your crop yield and ensure healthy plants.