If you are a cannabis grower, you know how important it is to properly dry and cure your harvest. While many growers use separate drying rooms for this process, others prefer to use their grow tent to save space and maximize efficiency.
Using your grow tent as a drying room can be a great way to streamline your process and ensure the best possible results. However, there are some important steps you need to follow to do it right. In this article, we’ll walk you through everything you need to know to use your grow tent as a drying room.
Step 1: Harvest Your Plants
The first step in using your grow tent as a drying room is, of course, harvesting your plants. Make sure to choose the right time to harvest, based on factors such as the maturity of the trichomes and the overall health of the plant.
Once you have harvested your plants, remove any large fan leaves and trim the buds as needed. This will help the buds dry more evenly and reduce the risk of mold or mildew.
Step 2: Set Up Your Grow Tent
Next, you will need to set up your grow tent for the drying process. Remove any unnecessary equipment from the tent, such as lights or fans, and clean the space thoroughly. Make sure the tent is well-ventilated, with plenty of air circulation to prevent mold and mildew.
You may also want to add a dehumidifier to the tent to help regulate humidity levels. Ideally, you want to maintain a humidity level of around 50-60% during the drying process.
Step 3: Hang Your Buds
Once your tent is set up and ready to go, it’s time to hang your buds. Use string or wire to hang the buds upside down from the tent’s support bars. Make sure the buds are not touching each other, as this can slow down the drying process and increase the risk of mold.
Step 4: Monitor the Drying Process
Now that your buds are hanging in the tent, it’s important to monitor the drying process carefully. Check the buds daily for signs of mold or mildew, and make sure the humidity and temperature levels are staying within the desired range.
Over time, the buds will become drier and more brittle. When they feel dry to the touch and the stems snap easily, they are ready for the next stage of the curing process.
Step 5: Move to the Curing Stage
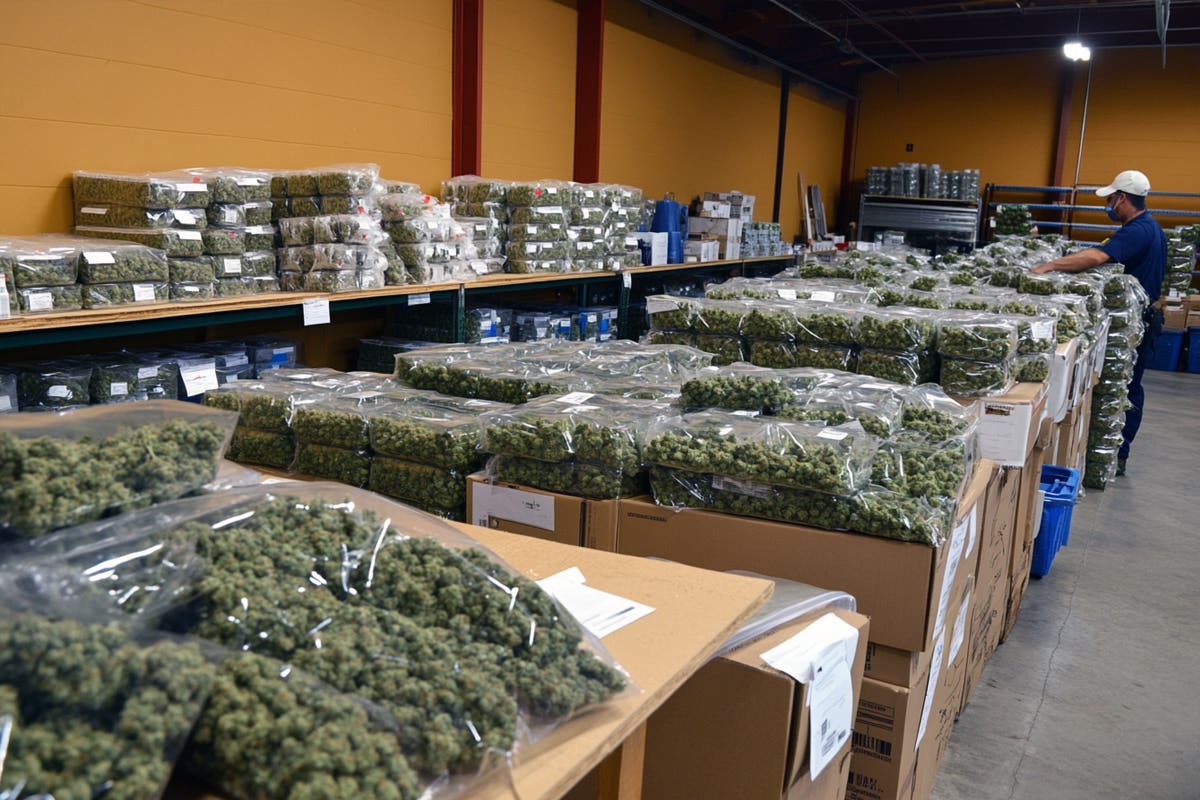
Once your buds are dry, it’s time to move them to the curing stage. This involves placing the buds in airtight jars and allowing them to cure for several weeks, during which time they will develop their full flavor and aroma.
Make sure to burp the jars regularly during the curing process to release excess moisture and prevent mold. After several weeks, your buds will be fully cured and ready to enjoy.
Using your grow tent as a drying room can be a convenient and efficient way to dry and cure your cannabis harvest. By following these steps and carefully monitoring the process, you can ensure the best possible results and enjoy the full flavor and potency of your buds.
Remember to choose the right time to harvest, set up your tent properly, hang your buds carefully, monitor the drying process, and move to the curing stage when the buds are ready. With a little patience and attention to detail, you can achieve great results using your grow tent as a drying room.


