

Installing your FloraFlex Drip Irrigation Kit is a straightforward process that will enhance your gardening experience. With the right setup, you can maximize water efficiency, ensure optimal nutrient delivery, and promote plant health in your garden.
Gather Your Supplies
Before you begin the installation process, gather all the necessary supplies for setting up your FloraFlex Drip Irrigation Kit. These supplies may include:
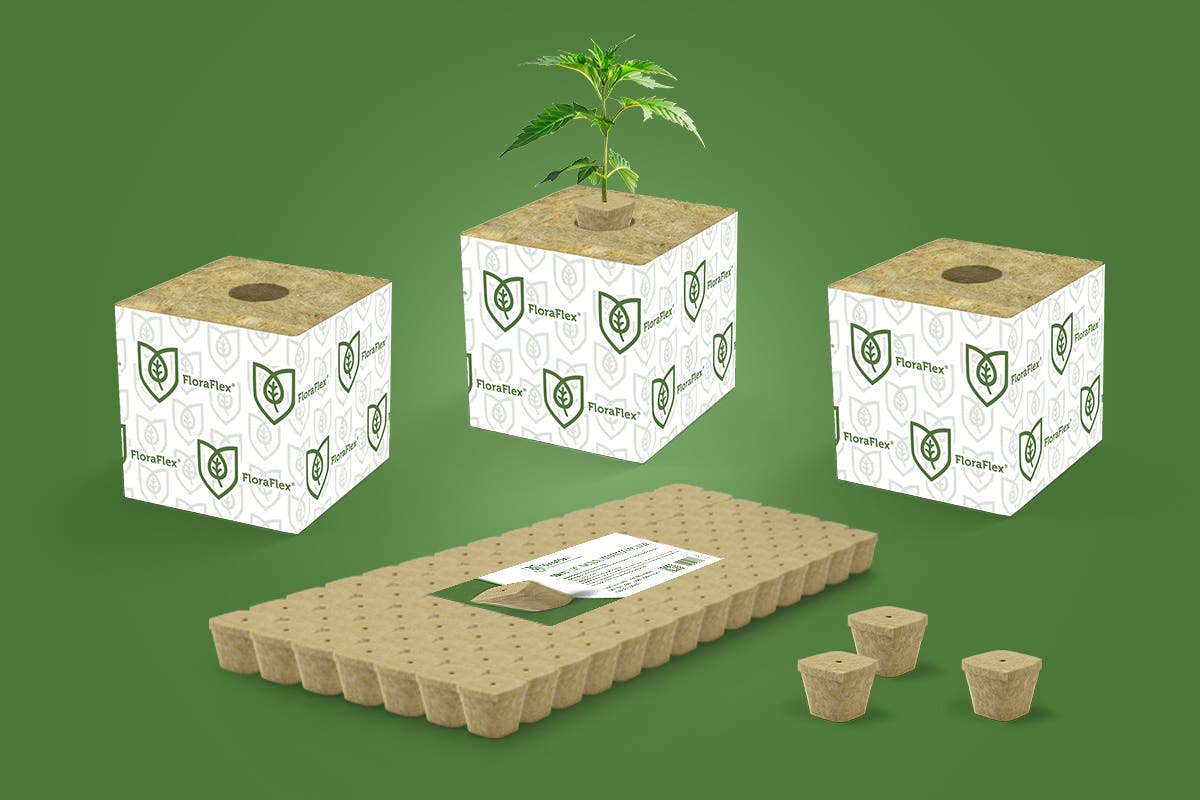
- FloraFlex Drip Irrigation Kit components (tubing, connectors, drip emitters, micro sprayers, etc.)
- Water source (faucet or water reservoir)
- Scissors or utility knife
- Hole punch or emitter insertion tool
- Pressure regulator (if not included in the kit)
- Timer (optional, for automated watering)
Having all the supplies ready will make the installation process more efficient.
Plan Your Irrigation Layout
Take time to plan your irrigation layout before starting the installation. Consider the following factors:
-
Garden Layout: Determine the layout of your garden and the location of your plants. Take into account the spacing between plants and the arrangement of beds or containers.
-
Water Source: Identify the water source and its proximity to your garden. Ensure that your FloraFlex Drip Irrigation Kit is positioned in a way that allows easy access to the water source.
-
Main Line Placement: Decide on the placement of the main irrigation line. This line will distribute water to the individual drip emitters or micro sprayers.
-
Water Distribution: Plan the placement of drip emitters or micro sprayers based on the water requirements of your plants. Ensure even water distribution across your garden.
Assemble the Irrigation System
Follow these steps to assemble your FloraFlex Drip Irrigation Kit:
-
Cut Tubing: Use scissors or a utility knife to cut the tubing to the desired length. Ensure that the cut is clean and without any jagged edges.
-
Attach Connectors: Attach connectors to the ends of the tubing to connect the main line to the drip emitters or micro sprayers.
-
Insert Drip Emitters or Micro Sprayers: Use a hole punch or an emitter insertion tool to create holes in the tubing. Insert the drip emitters or micro sprayers into these holes, ensuring a secure fit.
-
Connect the Main Line: Connect the main line of the FloraFlex Drip Irrigation Kit to the water source. Use connectors or adapters as needed to ensure a watertight connection.
-
Add Pressure Regulator: If your kit does not include a pressure regulator, install one to maintain consistent water pressure throughout the system. This helps prevent over or under watering.
-
Check for Leaks: Turn on the water source and check for any leaks or dripping. Tighten connections if necessary to ensure a secure and leak-free system.
Test and Adjust
After the installation, it's essential to test your FloraFlex Drip Irrigation Kit and make any necessary adjustments:
-
Turn on the water source and observe the water distribution from the drip emitters or micro sprayers. Ensure that water is reaching all the desired areas in your garden.
-
Check the flow rate of the drip emitters or micro sprayers. Adjust the flow rate by opening or closing the emitters or using flow control valves, if available.
-
Monitor the water pressure in the system. Adjust the pressure regulator as needed to maintain optimal water pressure for efficient irrigation.
-
Regularly check for any clogs or blockages in the system. Clean or replace the drip emitters or micro sprayers if necessary.
By following these installation tips, you can successfully set up your FloraFlex Drip Irrigation Kit and enjoy the benefits of efficient watering, precise nutrient delivery, and improved plant health in your garden. Enjoy the convenience and effectiveness of drip irrigation as you watch your plants thrive.