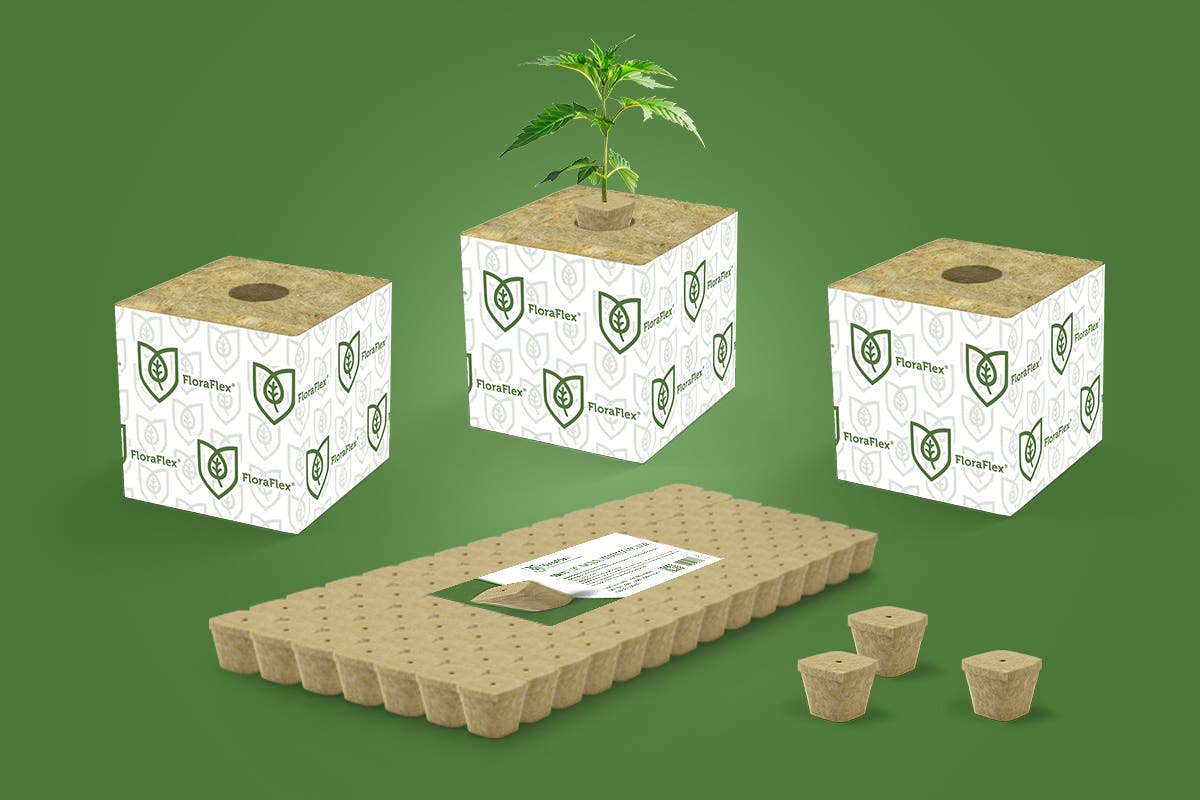


Transplanting your plants from FloraFlex INCUBATOR 40/40 PLUGS to the field is an important step in their growth journey. Proper transplanting techniques ensure a smooth transition, allowing the plants to establish themselves in their new environment and thrive. In this guide, we will provide you with step-by-step instructions to successfully transplant your plants from FloraFlex INCUBATOR 40/40 PLUGS to the field.
1. Preparing for Transplantation
Before transplanting, it's essential to prepare both the plants and the field for a successful transition. Follow these steps:
a. Harden Off the Plants
Harden off the plants by gradually exposing them to outdoor conditions. Start by placing them in a sheltered location for a few hours a day and gradually increase the exposure time over several days. This process helps the plants adjust to the fluctuating temperatures and outdoor elements.
b. Choose the Right Transplanting Time
Select the optimal time for transplanting based on the specific requirements of your plants. Consider factors such as weather conditions, soil temperature, and the stage of plant growth. Transplanting during mild and cloudy weather can help reduce stress on the plants.
c. Prepare the Field
Prepare the field by clearing any weeds, debris, or rocks. Ensure the soil is well-drained and enriched with organic matter. Consider performing a soil test to assess the nutrient levels and pH of the soil and make any necessary amendments before transplanting.
2. Transplanting Process
Follow these step-by-step instructions for transplanting FloraFlex INCUBATOR 40/40 PLUGS to the field:
a. Water the Plugs
Thoroughly water the FloraFlex INCUBATOR 40/40 PLUGS before transplanting. This ensures that the plugs are adequately hydrated, making it easier to remove the plants without damaging the roots.
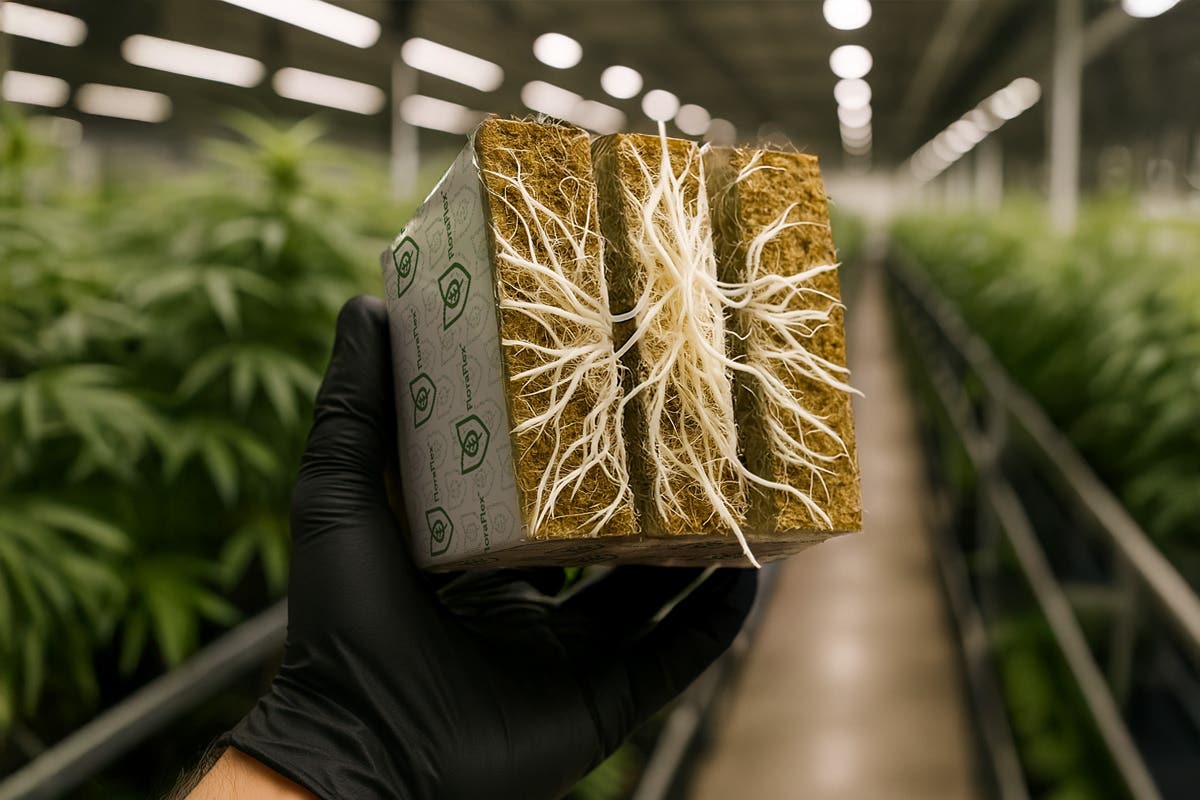
b. Gently Remove the Plants
Carefully remove the plants from the plugs, taking care not to disturb the roots excessively. Hold the plug near the base of the stem and gently push upward from the bottom to loosen the root ball.
c. Dig the Planting Hole
Dig a hole in the prepared field that is slightly larger than the root ball of the plant. Ensure the hole is deep enough to accommodate the entire root system without crowding or bending the roots.
d. Place the Plant in the Hole
Position the plant in the center of the hole, ensuring that the top of the root ball is level with or slightly above the soil surface. Avoid planting too deep, as it can hinder proper root development.
e. Backfill and Firm the Soil
Carefully backfill the hole with soil, gently pressing it around the root ball to eliminate air pockets. Firm the soil around the plant but avoid compacting it excessively, as this can restrict root growth.
f. Water and Mulch
After transplanting, water the plants thoroughly to help settle the soil around the roots and provide initial hydration. Apply a layer of mulch around the base of the plants to conserve moisture and suppress weed growth.
3. Post-Transplant Care
To ensure the success of the transplant, provide proper care for your plants:
a. Watering
Monitor the moisture levels in the soil and water the plants as needed. Be mindful of not overwatering, as excessive moisture can lead to root rot. Strive to maintain consistent soil moisture for healthy root development.
b. Monitor and Protect
Keep a close eye on the transplanted plants for signs of stress, such as wilting or yellowing leaves. Provide adequate support, such as stakes or trellises, if needed. Protect the plants from harsh weather conditions and pests.
c. Gradual Fertilization
Wait a few weeks before applying fertilizer to allow the plants to settle into their new environment. Gradually introduce fertilizers, following the recommended dosage and frequency for your specific plants.
4. Monitoring and Evaluation
Regularly monitor the progress of the transplanted plants and evaluate their growth. Adjust your care routine as needed, addressing any issues promptly. With proper attention and care, your plants will establish themselves in the field and thrive.
Transplanting FloraFlex INCUBATOR 40/40 PLUGS to the field requires careful preparation and execution. By following the step-by-step instructions provided in this guide, you can ensure a successful transition and promote the optimal growth and establishment of your plants. Remember to provide post-transplant care and monitor the plants closely. With the right techniques and care, your plants will flourish in their new environment.