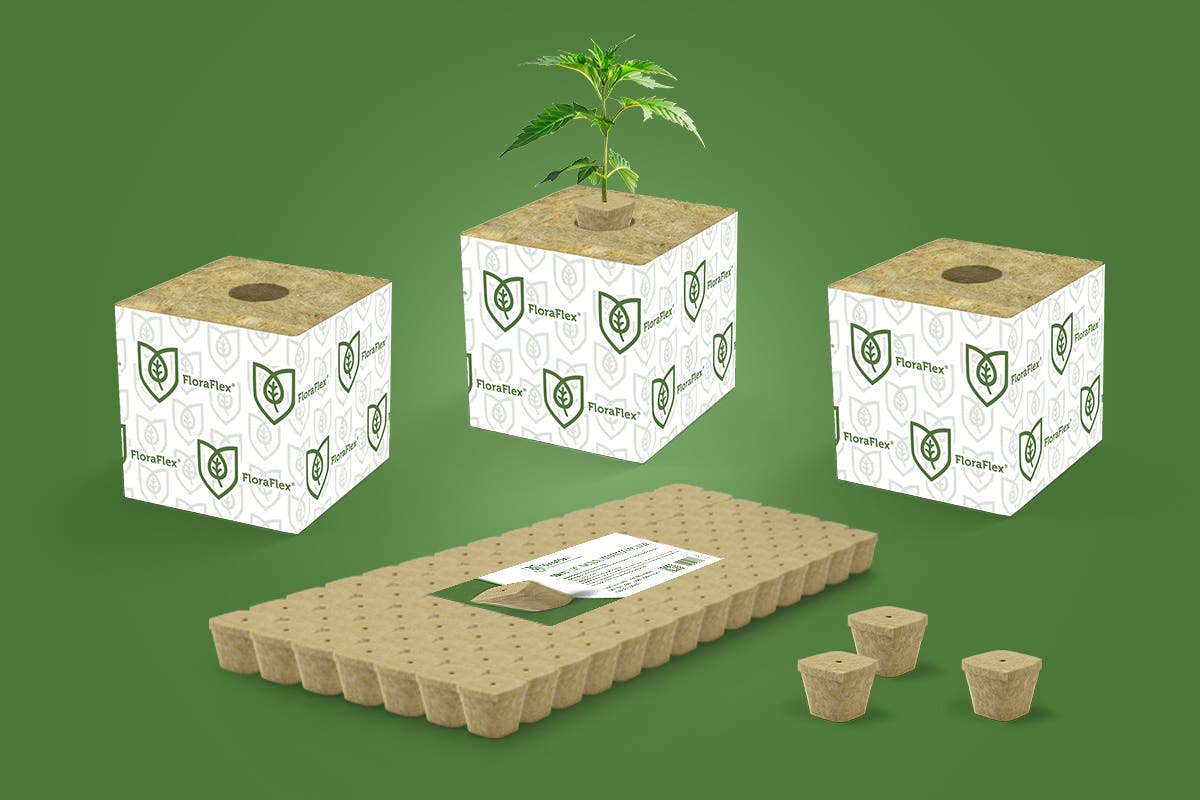


Transplanting seedlings is a critical step after successful germination. Once your seedlings have grown their first true leaves and are sturdy enough, it's time to move them into their permanent growing location. Proper transplanting techniques will help ensure their continued growth and development.
Here's a step-by-step guide to transplanting seedlings:
-
Prepare the new planting area: Choose a location in your garden that provides the appropriate sunlight, soil conditions, and spacing for the specific plant variety. Prepare the soil by removing any weeds, loosening it with a garden fork, and incorporating compost or organic matter to improve its fertility and structure.
-
Water the seedlings: Before transplanting, give the seedlings a thorough watering to moisten the soil in their containers. This will help ease their removal and minimize transplant shock.
-
Dig the planting holes: Dig holes in the new planting area that are slightly larger than the root ball of each seedling. Make sure to space the holes according to the recommended spacing guidelines for the specific plant variety.
-
Gently remove the seedlings: Carefully remove the seedlings from their containers, being mindful not to damage their delicate roots. You can use a small trowel or your fingertips to gently loosen the soil around the base of the seedlings.
-
Place the seedlings in the planting holes: Lower each seedling into its respective planting hole, ensuring that the top of the root ball is level with or slightly above the surrounding soil surface. Avoid burying the seedlings too deep, as this can hinder their growth.
-
Backfill the holes: Fill the holes around the seedlings with soil, gently firming it around the roots to eliminate air pockets. Take care not to compact the soil too much, as this can restrict root growth and water drainage.
-
Water the transplanted seedlings: Give the newly transplanted seedlings a thorough watering to settle the soil around their roots and help them establish in their new environment. Ensure that the soil is evenly moist but not waterlogged.
-
Provide post-transplant care: Place a layer of organic mulch, such as straw or wood chips, around the base of each seedling to help conserve moisture and suppress weed growth. Monitor the soil moisture levels regularly and water as needed, keeping the soil consistently moist but not saturated.
-
Protect the seedlings: If transplanting during a period of intense sunlight or extreme weather conditions, consider providing temporary shade or protection to shield the seedlings from excessive heat or cold stress.
By following these steps, you can transplant your seedlings effectively and give them the best chance of thriving in their new growing environment. Remember to handle the seedlings with care, provide appropriate post-transplant care, and monitor their progress closely to ensure their successful transition and continued growth.