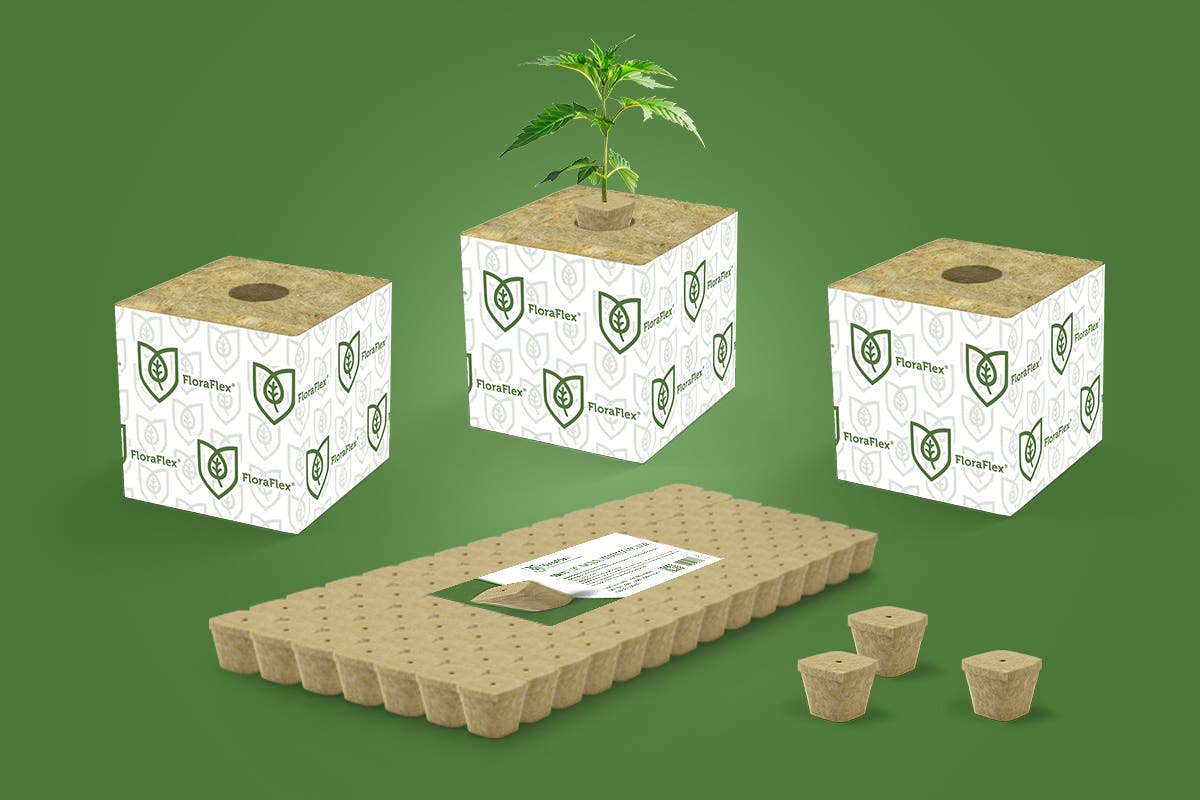


The UNIVERSAL ROUND FLORACAP® is an innovative and versatile tool designed to enhance plant growth and optimize the growing environment. As with any gardening equipment, regular cleaning and maintenance are essential to ensure its longevity and effectiveness. In this guide, we will provide you with valuable tips and techniques for cleaning and maintaining your UNIVERSAL ROUND FLORACAP®. By following these guidelines, you can ensure that your FLORACAP® remains in excellent condition, allowing you to enjoy its benefits for years to come.
Why Cleaning is Important
Keeping your UNIVERSAL ROUND FLORACAP® clean offers numerous benefits, such as:
-
Preventing Contamination: Regular cleaning removes dirt, dust, and debris that can accumulate on the FLORACAP® surface. This helps prevent the buildup of harmful bacteria, fungi, and pests that can affect plant health.
-
Optimizing Light Penetration: A clean FLORACAP® allows maximum light penetration, ensuring that your plants receive the necessary amount of light for photosynthesis. This promotes healthy growth and robust root development.
-
Improving Air Circulation: By cleaning the FLORACAP®, you remove any obstructions that may hinder proper airflow within your growing environment. This helps prevent the development of stagnant air pockets and promotes optimal ventilation.
-
Increasing Efficiency: A clean FLORACAP® ensures that the surface is free from any residues that can interfere with its intended functionality. This maximizes its efficiency in delivering nutrients, water, and protection to your plants.
Cleaning Tools and Materials
Before diving into the cleaning process, gather the following tools and materials:
- Mild dish soap or specialized horticultural cleaning solution
- Soft sponge or cloth
- Water
- Spray bottle
- Small brush (e.g., toothbrush)
Cleaning Steps
Now that you have the necessary tools, follow these steps to clean your UNIVERSAL ROUND FLORACAP® effectively:
1. Preparation
- Fill a spray bottle with a mixture of warm water and mild dish soap or horticultural cleaning solution. Alternatively, you can prepare a bucket of soapy water.
- Remove the FLORACAP® from your plants and detach any removable components, such as the screen or clips, if applicable.
- Place the FLORACAP® and its components on a clean surface or in a shallow container.
2. Surface Cleaning
- Dampen a soft sponge or cloth with the soapy water solution.
- Gently wipe the surface of the FLORACAP®, ensuring that you cover all areas. Pay attention to any crevices or hard-to-reach spots.
- For stubborn stains or residues, use a small brush (e.g., toothbrush) to scrub the affected areas gently.
- Rinse the FLORACAP® thoroughly with clean water to remove any soap residue.
3. Component Cleaning
- If your UNIVERSAL ROUND FLORACAP® has removable components, such as a screen or clips, clean them separately.
- Soak the removable components in the soapy water solution for a few minutes.
- Use a soft sponge or cloth to clean the components, paying attention to any debris or residues.
- Rinse the components thoroughly with clean water to remove any soap residue.
4. Drying and Reassembling
- After cleaning, place the FLORACAP® and its components on a clean towel or drying rack.
- Allow them to air dry completely before reassembling.
- Once dry, reattach any removable components to the FLORACAP®.
Regular cleaning and maintenance of your UNIVERSAL ROUND FLORACAP® are essential to ensure optimal plant growth and performance. By following the steps outlined in this guide and adhering to the recommended cleaning frequency, you can prolong the lifespan of your FLORACAP® and enjoy the benefits it offers. Remember to handle the FLORACAP® with care during the cleaning process to avoid any damage. Keep your FLORACAP® clean, and watch your plants thrive!